Setting up Cloudflare doesn’t need to be complicated. In this guide, we walk through the essential steps to get started with the free version of Cloudflare, explaining its core features and how it can help you manage DNS records, improve site performance, and secure your website.
What Is Cloudflare and Why Use It?
At Cude Design, we’ve been using Cloudflare for over a decade. It’s a powerful free tool that provides:
- Centralised DNS management
- DDoS protection
- A content delivery network (CDN)
- Free SSL certificates
We primarily use Cloudflare to simplify DNS record management for multiple client websites. Instead of logging into various domain registrars, we manage everything from one dashboard.
Step-by-Step: How to Set Up Cloudflare
1. Create a Free Account
Start by signing up at Cloudflare.com. Choose a secure password — Cloudflare enforces this strictly.
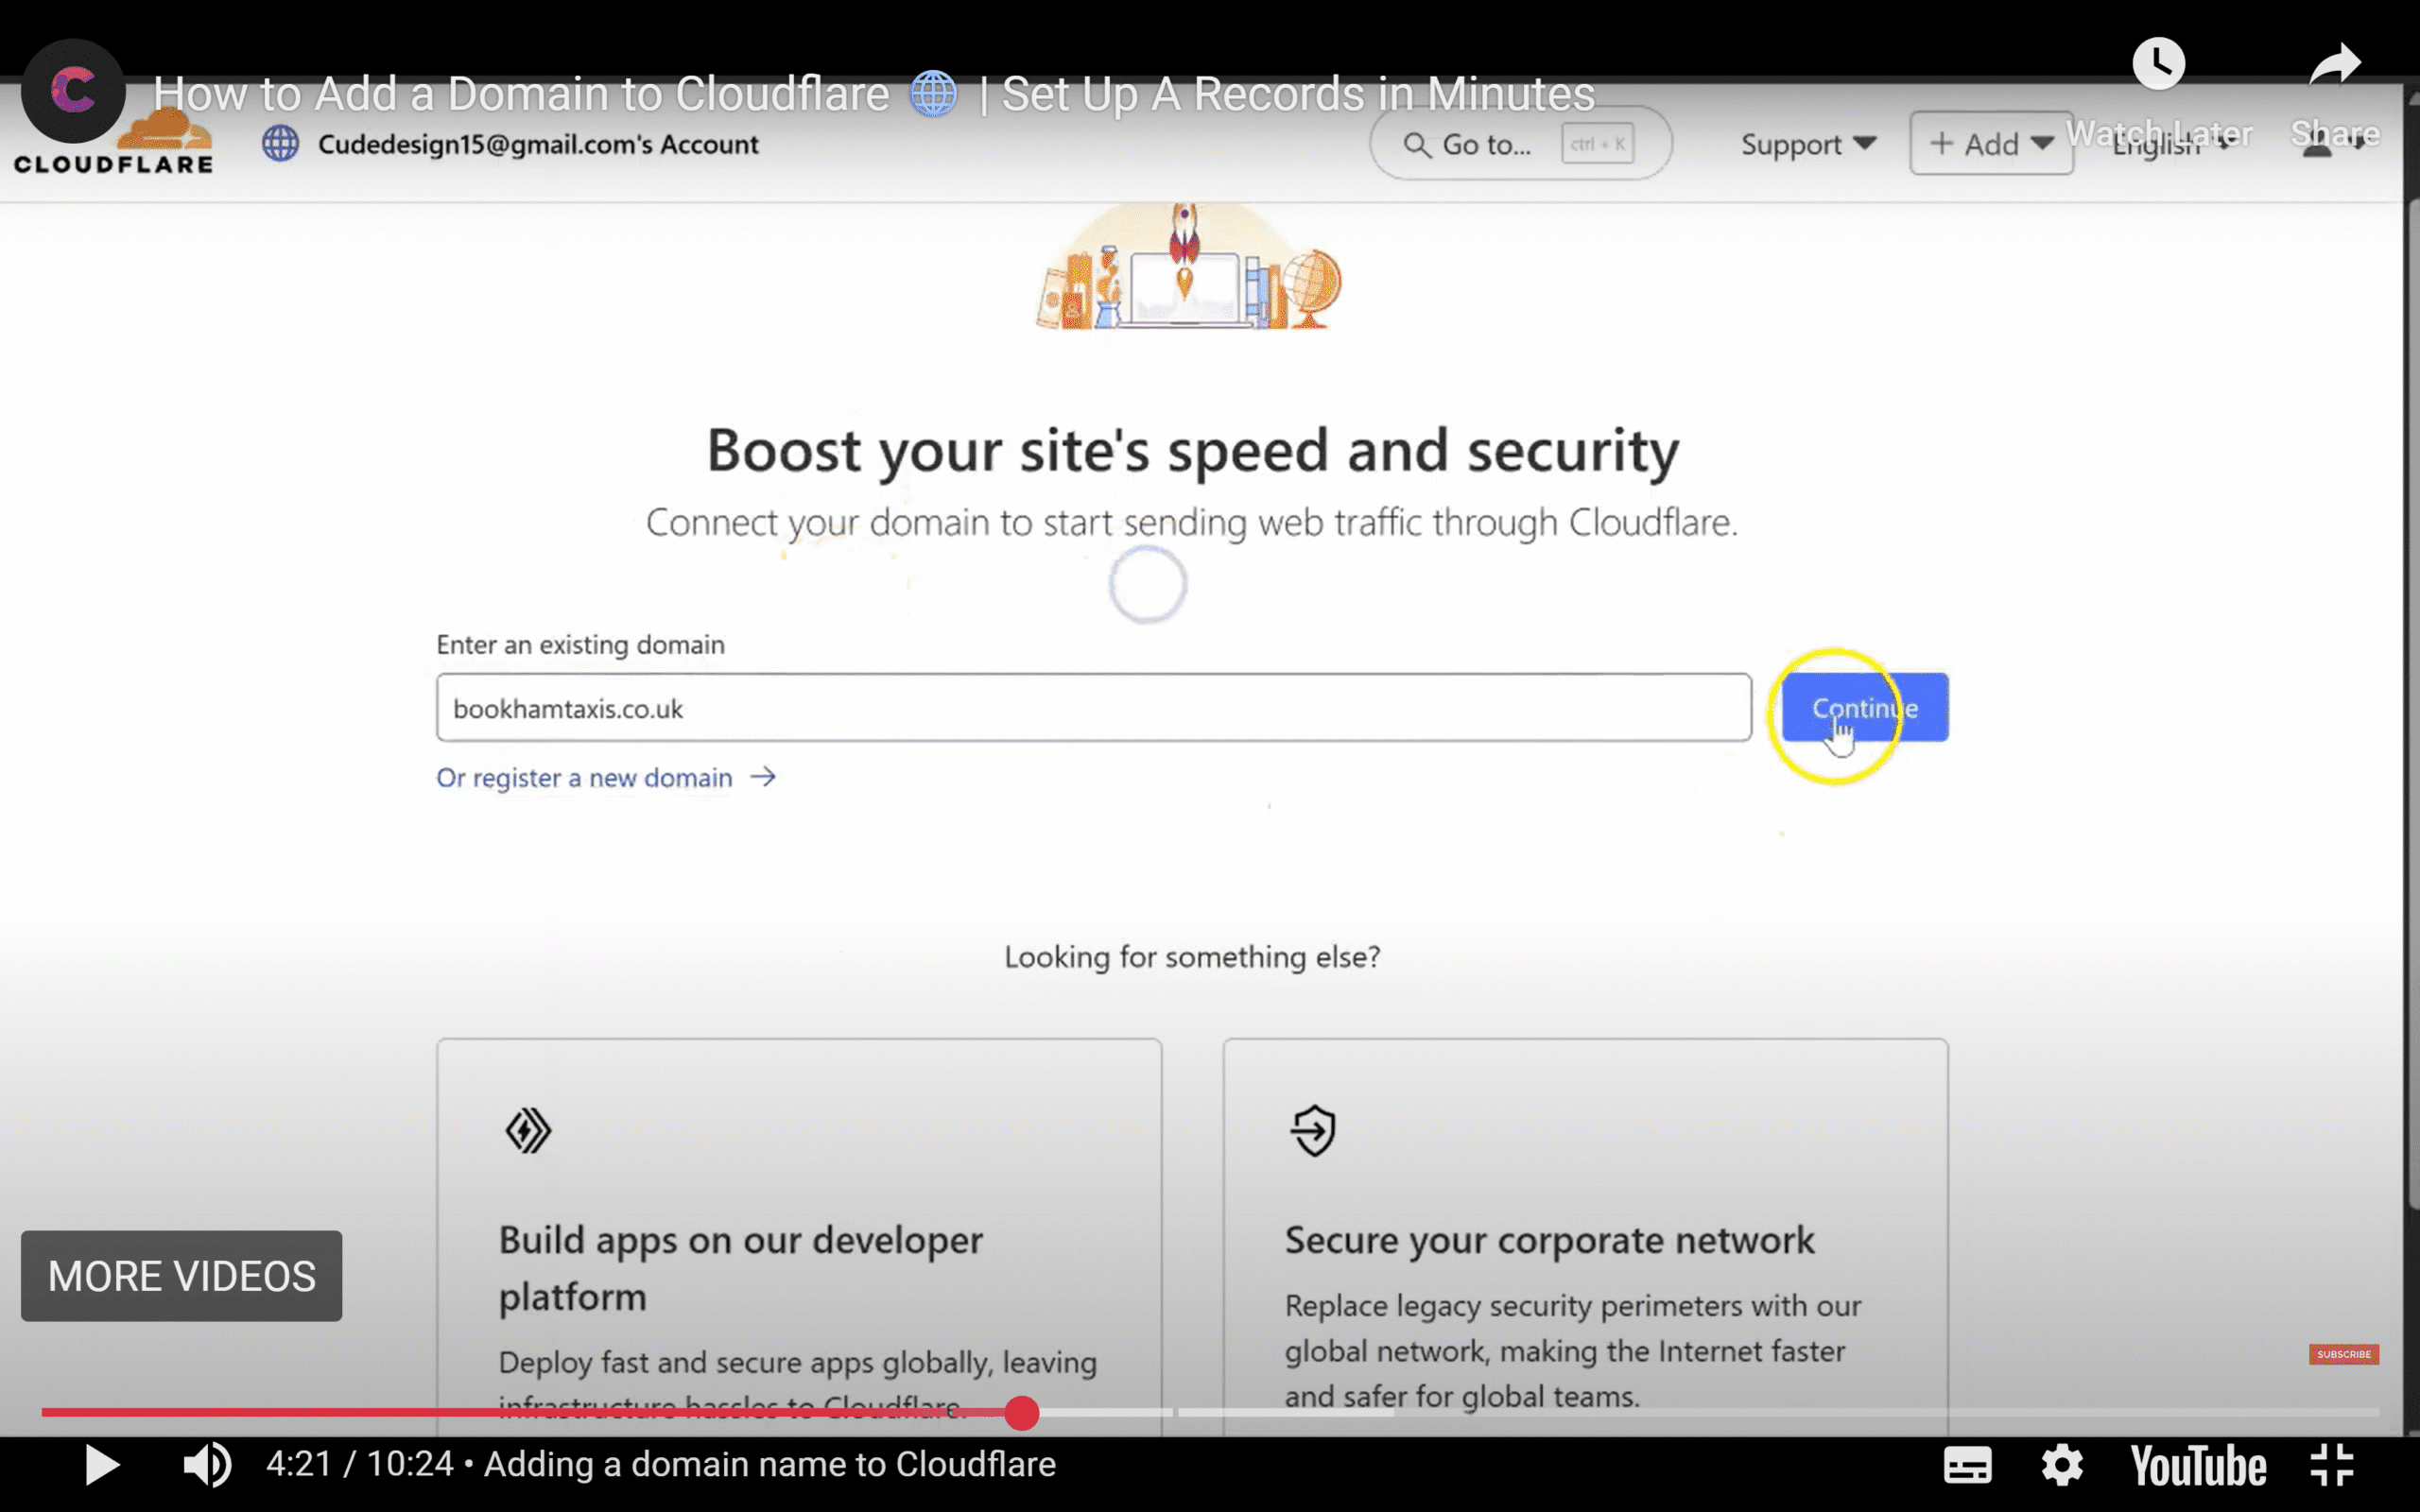
2. Add Your Domain Name
Once you’re logged in:
- Click “Add a Site”
- Enter your domain name
- Cloudflare will scan and import your current DNS records
3. Select a Plan
Choose the free plan — it’s more than enough for DNS, CDN, SSL, and basic DDoS protection.
4. Update Your Domain’s Name Servers
You’ll be given two Cloudflare name servers. To complete setup:
- Log into your domain registrar (e.g. GoDaddy, 123-Reg)
- Replace the existing name servers with those provided by Cloudflare
- Save changes
Note: It may take up to 48 hours for DNS changes to propagate, though it’s usually much faster.
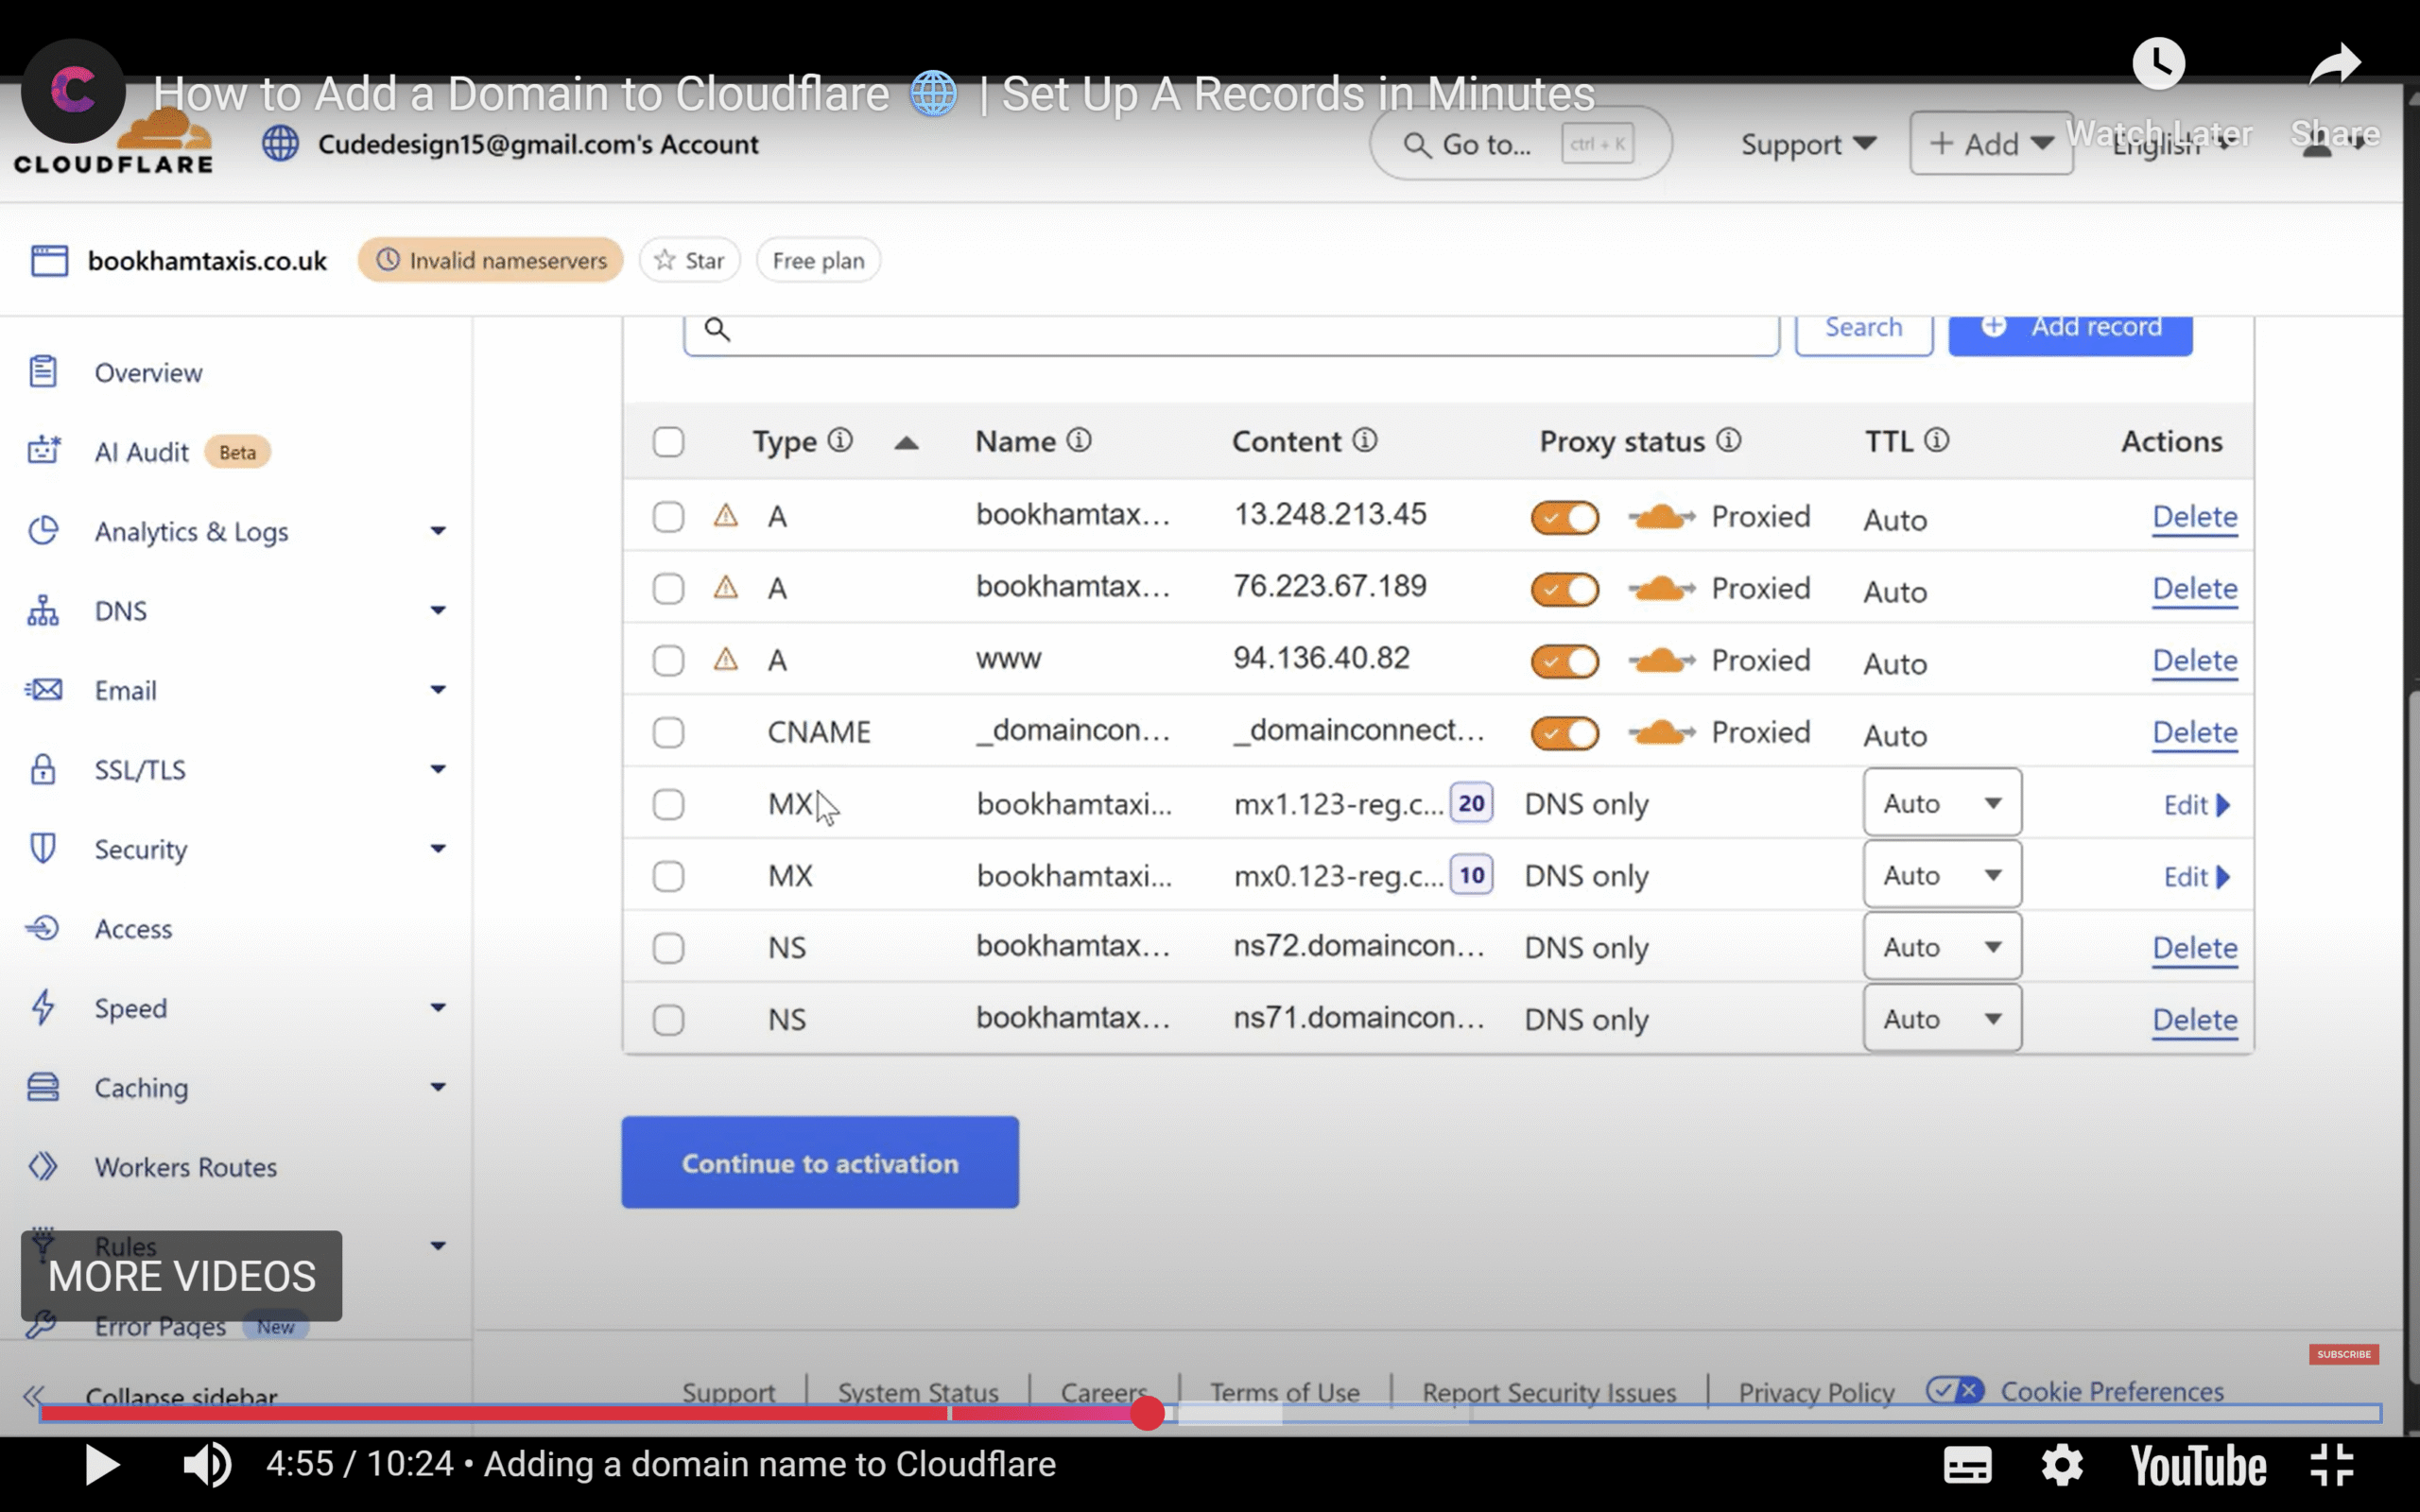
5. Manage DNS Records from Cloudflare
Once your domain is active, you’ll be able to:
- View and edit existing DNS records
- Point your domain to your web host’s IP address
- Manage A records (e.g.
@andwww) - Add or update MX records for email services
If your website is hosted with SiteGround:
- Find your IP address in your SiteGround dashboard
- Update the A record in Cloudflare accordingly
6. SSL and Email Settings
Cloudflare issues a universal SSL certificate automatically. While most hosts now provide SSL, it’s still helpful as an additional layer of security.
For email:
- If you use SiteGround email hosting, copy the MX records from your hosting control panel
- Paste them into Cloudflare under DNS → MX
Benefits of Using Cloudflare
- Faster website loading with CDN edge caching
- Stronger security with free SSL and DDoS mitigation
- Centralised control over multiple websites’ DNS records
Best of all — you can get all of this without paying for a premium plan.
Final Thoughts
Cloudflare is a robust tool that streamlines DNS management and enhances your website’s performance and security. Whether you’re running a single site or managing multiple client domains like we do at Cude Design, the free version is more than sufficient for most users.
Frequently Asked Questions
What is Cloudflare used for in WordPress?
Cloudflare acts as a protective and performance-enhancing layer between your WordPress website and its visitors. It handles your DNS (Domain Name System) to make routing traffic faster and more efficient. Cloudflare also provides a CDN (Content Delivery Network), which caches your website’s files across global servers, reducing load times.
Additionally, it offers DDoS protection and a free SSL certificate to help secure your site from malicious attacks. For WordPress users, this means faster speeds, improved uptime, and better security — all managed from a single, user-friendly dashboard. It’s especially helpful if you’re hosting multiple websites or want to reduce dependency on your hosting provider’s DNS settings.
How do I know if Cloudflare is working?
After you change your domain’s name servers to the ones provided by Cloudflare, your account dashboard should mark the domain as “active.” This is the first confirmation that everything is working. You can also run a test by visiting your site and inspecting the response headers using browser developer tools.
Look for a header like cf-cache-status or server: cloudflare.
These indicate that Cloudflare is serving your site’s content. You can also use third-party tools like whatsmydns.net to confirm DNS propagation and check if the Cloudflare name servers are being used globally.
Is the free version of Cloudflare enough?
Yes, for most small and medium-sized websites — especially WordPress sites — the free version of Cloudflare is more than enough. It includes DNS management, DDoS protection, a global CDN, and a universal SSL certificate.
These features significantly improve your site’s speed and security without any ongoing cost. Paid plans are available, but they’re generally only necessary for enterprise-level needs or advanced firewall rules, analytics, and image optimisation. At Cude Design, we’ve used the free tier for over a decade across many client websites with excellent results. It’s a no-brainer for most WordPress-based businesses looking to reduce risk and boost site performance.
What are MX records and why are they important?
>MX (Mail Exchange) records are DNS settings that tell email services where to deliver messages sent to your domain. If you’re using an external email provider — like Google Workspace, Microsoft 365, or SiteGround’s mail server — the correct MX records must be added to your DNS configuration to ensure your emails are routed correctly.
Without these records, your email may not work, or messages could bounce. When you manage your DNS through Cloudflare, you’ll need to copy the MX records from your email provider and add them to Cloudflare’s DNS dashboard. This setup ensures that your domain handles email properly without disrupting your website’s functionality.